[Next.js + TypeScript] emotion 적용 방법
emotion
css-in-js 라이브러리이다.
create next app
typescript 기반의 next app을 만든다.
yarn create next-app ${my-app} --typescriptinstall emotion
my-app에서 emotion을 설치한다.
yarn add @emotion/react @emotion/styledbabel config (optional)
emotion의 여러 기능을 사용하기 위해 바벨 설정을 한다.
emotion 8 버전 이상부터는 필요하지 않다고 하니 참고하시길 바란다.
아래 커멘드로 emotion의 babel plugin을 설치한 후
yarn add -D @emotion/babel-plugin.babelrc 파일을 만들어 아래처럼 작성한다.
.babelrc
{
  "presets": [
    [
      "next/babel",
      {
        "preset-react": {
          "runtime": "automatic",
          "importSource": "@emotion/react"
        }
      }
    ]
  ],
  "plugins": ["@emotion/babel-plugin"]
}
typescript config
여기까지 진행 후 css props 기능을 사용하면 다음과 같은 오류를 맞이 한다.
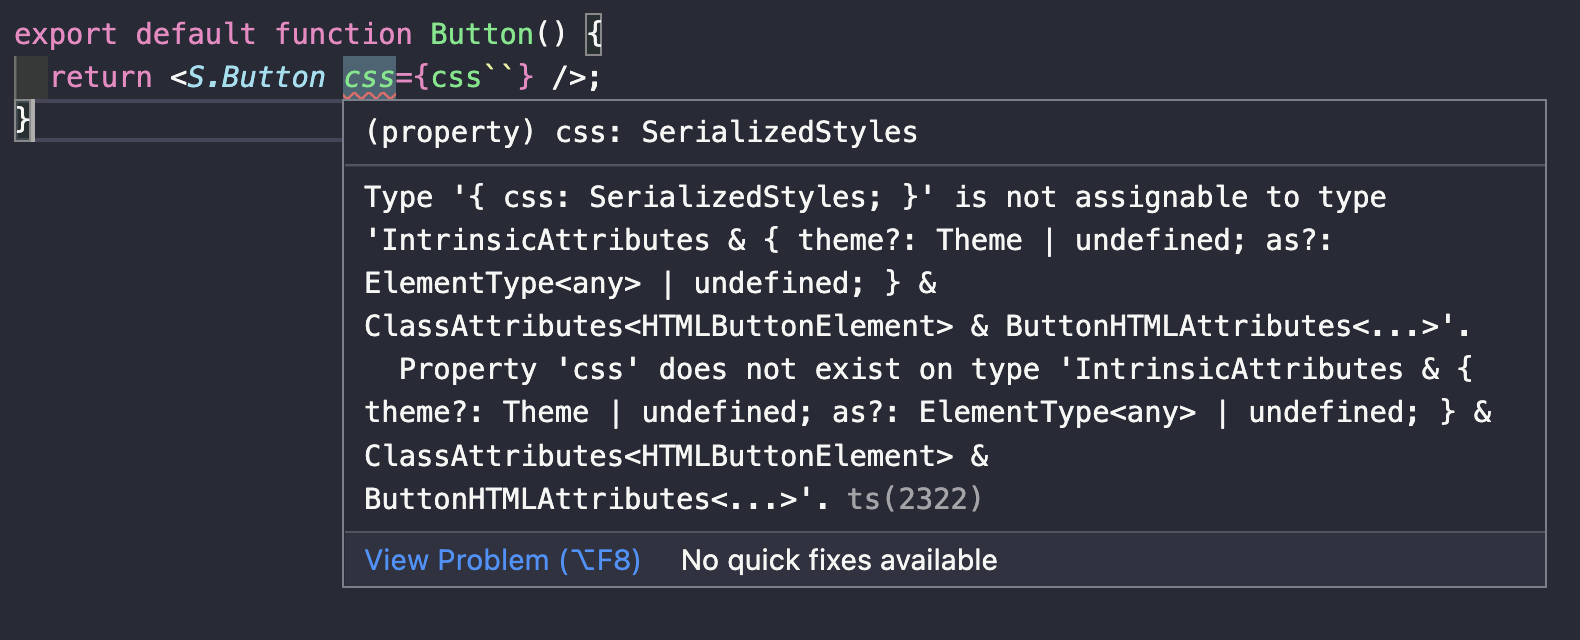
이 경우 tsconfig.json을 수정하기만 하면 된다.
tsconfig.json
{
  "compilerOptions": {
    ...,
    "jsxImportSource": "@emotion/react" // Add this line.
  }
}
compilerOptions에 "jsxImportSource": "@emotion/react" 이 줄을 추가하면 된다.
Ref.
https://emotion.sh/docs/css-prop#babel-preset
Emotion – The css Prop
The primary way to style elements with emotion is the css prop. It provides a concise and flexible API to style your components. There are 2 ways to get started with the css prop. Both methods result in the same compiled code. After adding the preset or se
emotion.sh
https://emotion.sh/docs/typescript#emotionreact
Emotion – TypeScript
Emotion includes TypeScript definitions for @emotion/react and @emotion/styled. These definitions infer types for css properties with the object syntax, HTML/SVG tag names, and prop types. @emotion/react The easiest way to use the css prop with TypeScript
emotion.sh
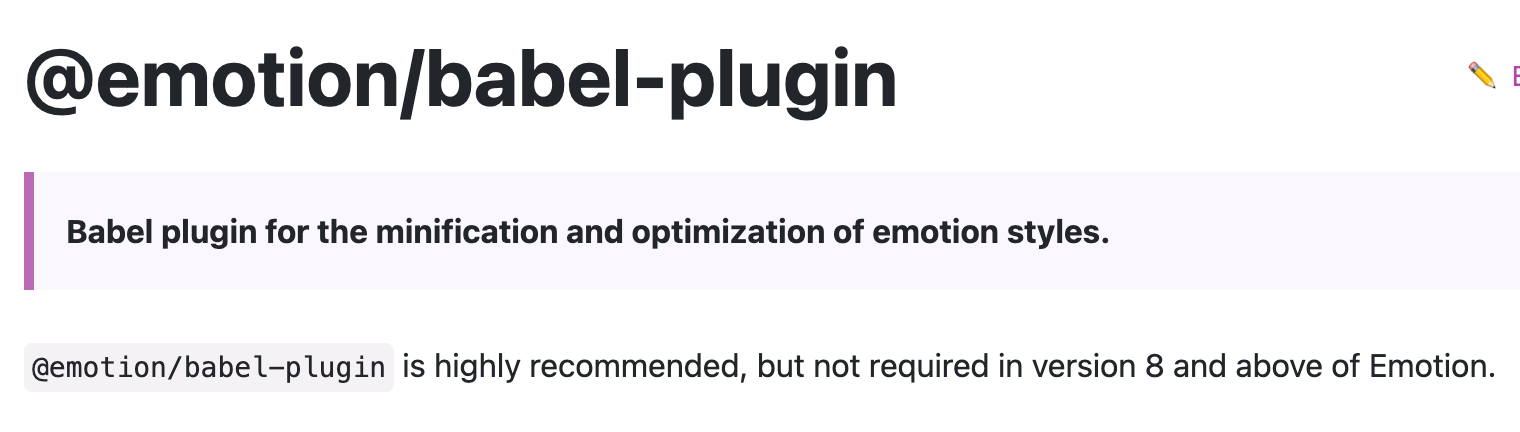
https://emotion.sh/docs/@emotion/babel-plugin
Emotion – @emotion/babel-plugin
@emotion/babel-plugin is highly recommended, but not required in version 8 and above of Emotion. boolean, defaults to true. Note: Source maps are on by default in @emotion/babel-plugin but they will be removed in production builds 'dev-only' | 'always' | '
emotion.sh